UNOFFICIAL GUIDE · Public evidence reviewed August 16, 2026 · Game-build data extracted August 17, 2026 · All footage predates Patch #4 (August 12, 2026); no post-patch gameplay verified
CAMPAIGN MISSION DOSSIER · UNOFFICIAL
Iron Nest Mission 3 Liberation Walkthrough
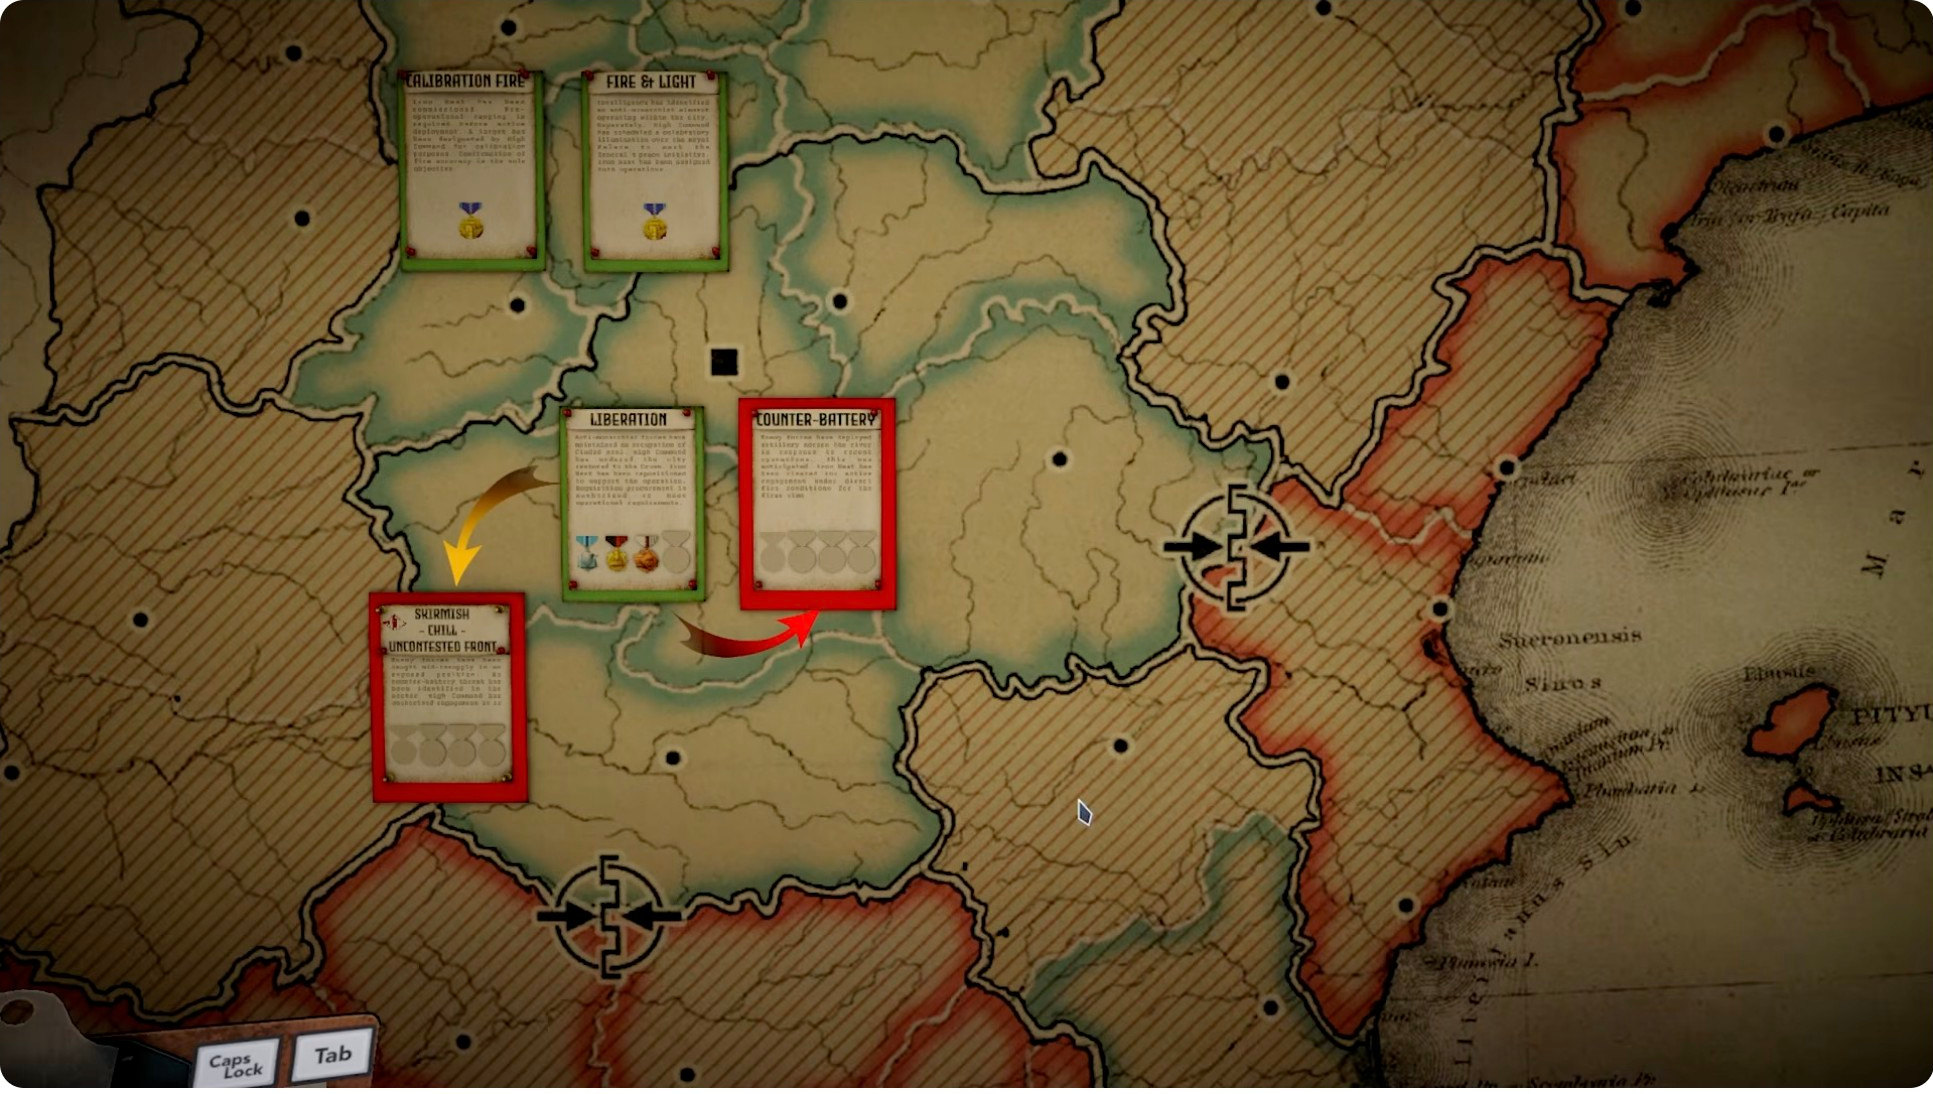
Liberation is Mission 3 of the IRON NEST: Heavy Turret Simulator campaign, set in the occupied city of Ciudad Real — internally the third tutorial mission, teaching requisition and scout-plane mechanics. It is the mission where you reposition Iron Nest to a new firing point, hunt five infantry targets across friendly urban sectors, and destroy an underground ammunition cache that will not stay in the same place twice.
Quick Answer
The loop that wins Liberation, in three stages:
Reposition Iron Nest and destroy the first three infantry. The mission moves you to a new firing position — discard the old marker immediately. Three targets start with known bearings; resolve them with spotter triangulation and HE shells.
Recon the ammo cache in P4, then destroy it with AP. The typewriter issues a free reconnaissance-plane card. Fly it over P4 to confirm the cache position — it changes every run. AP shells are required; HE is ineffective against the underground structure. The recon flight breaks your kill streak.
Find and destroy the final two infantry. Targets 4 and 5 start with incomplete intelligence and appear in friendly urban sectors. One is danger-close to friendlies — use AP, not HE, to avoid collateral damage. The mission ends only when all five infantry and the cache are destroyed and command issues the stand-down order.
Evidence: IN-GAME TEXT mechanics · OBSERVED footage · REPORTED guide steps — see how the labels work.
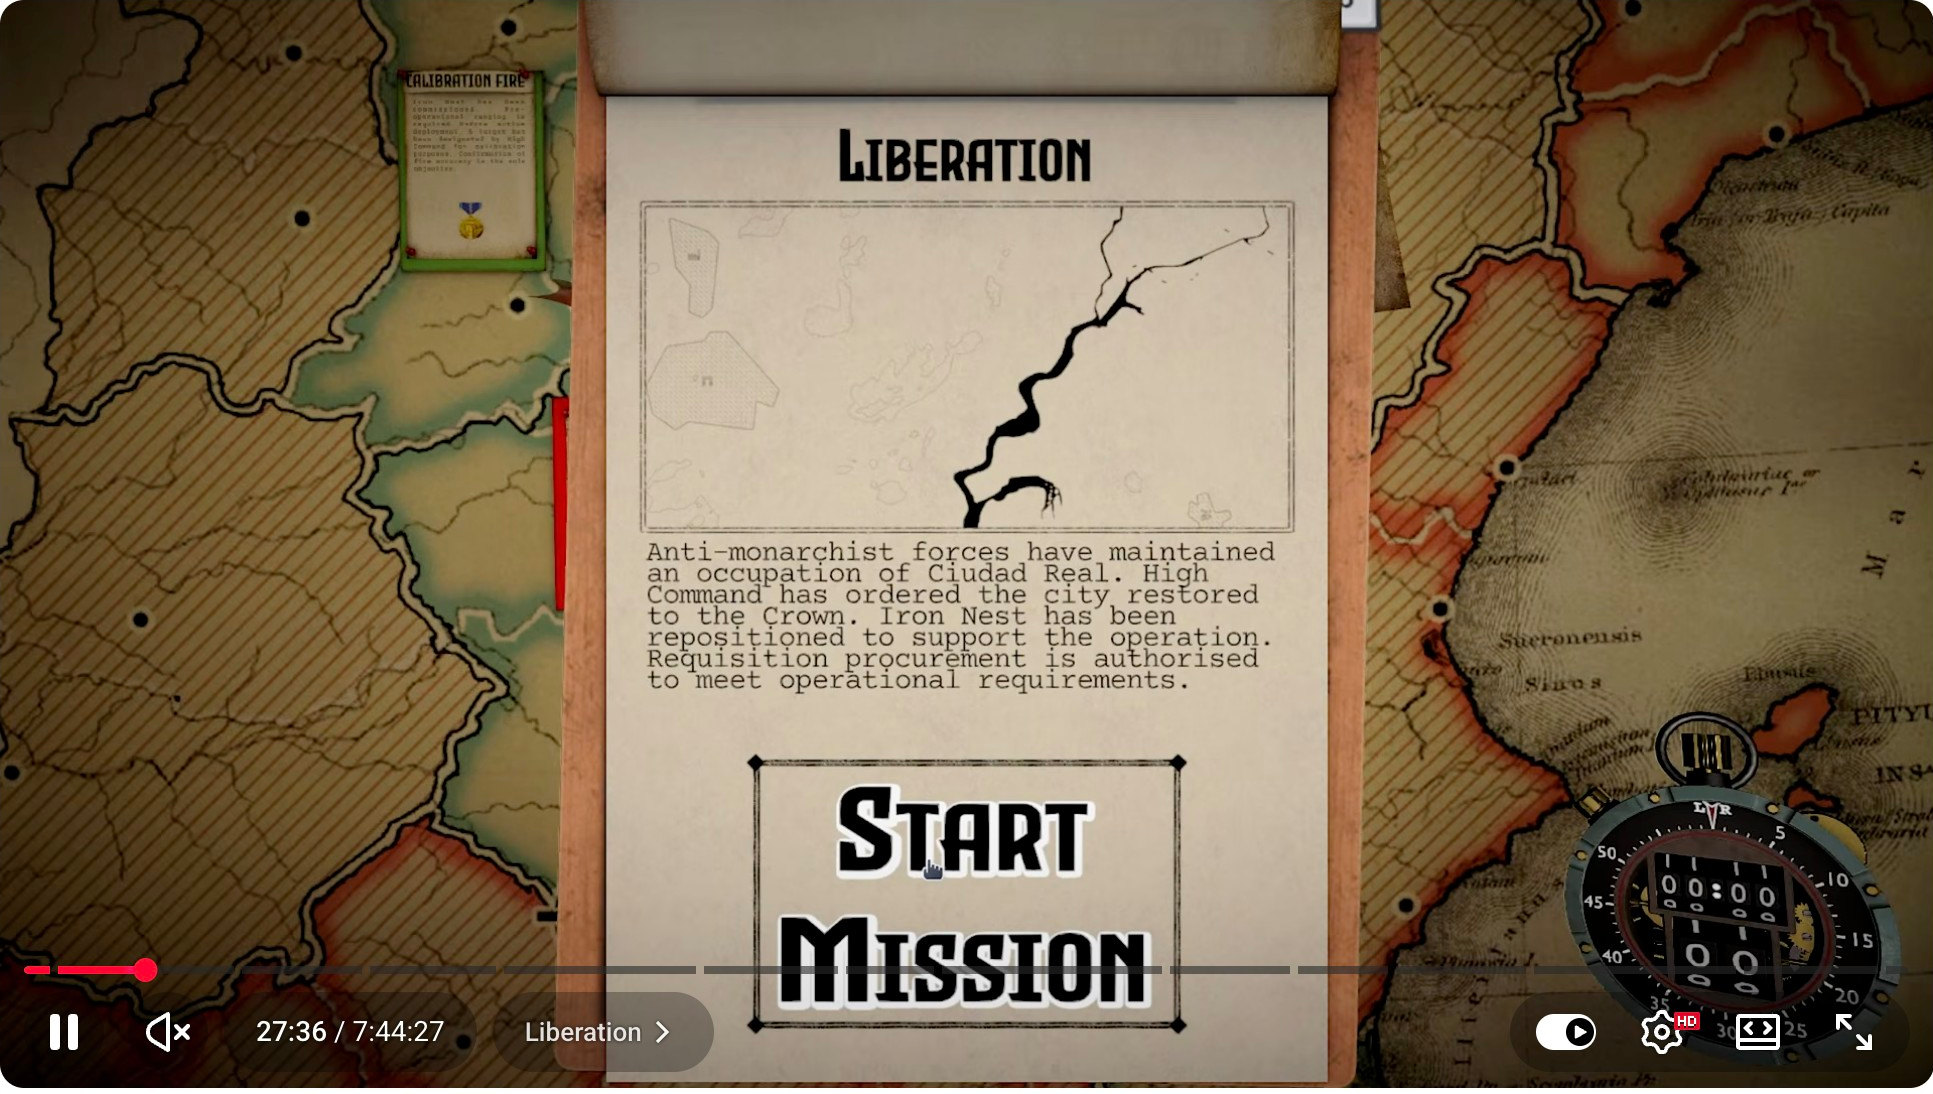
The Mission 3 start screen. Frame from a public YouTube no-commentary full-run video (uploaded August 8, 2026, pre-Patch #4).
How to read the evidence labels
This guide is built from traceable public sources, not author gameplay testing.
How to read the evidence labels
Label
What it means on this page
OFFICIAL
A developer or official platform source directly confirms the stated fact.
IN-GAME TEXT
Wording from the mission's own briefing, comm messages, and game files — transcribed by a third-party database (ironnestdb.com, captured build not stated) or extracted from the 1.0 game build (build 24750322) and the demo build (23991575) via the shared game-data extraction. Quotable wording.
OBSERVED
Public footage visibly shows the action, state, or result. Screenshots support only what is visible in the frame; videos do not display a build number.
REPORTED
A third-party guide (whisperofthehouse.com) or community posts (official Discord) describe the step; the reviewed footage may not show the full chain.
Unless a section says otherwise, footage on this page was reviewed on August 16, 2026, and no source displays a build number. All videos predate Patch #4 (August 12, 2026); no post-patch gameplay has been verified.
3 (cross-confirmed by two guides, a mission database, and in-game footage; the game's own materials use operation names rather than a fixed public numbering)
Mission name
Liberation
Internal classification
Tutorial 3 — requisition and scout plane (asset MissionGraph_3Tutorial_Requisition and scout plane; the first four campaign missions are tutorials)
Map
Ciudad Real
Starting requisition
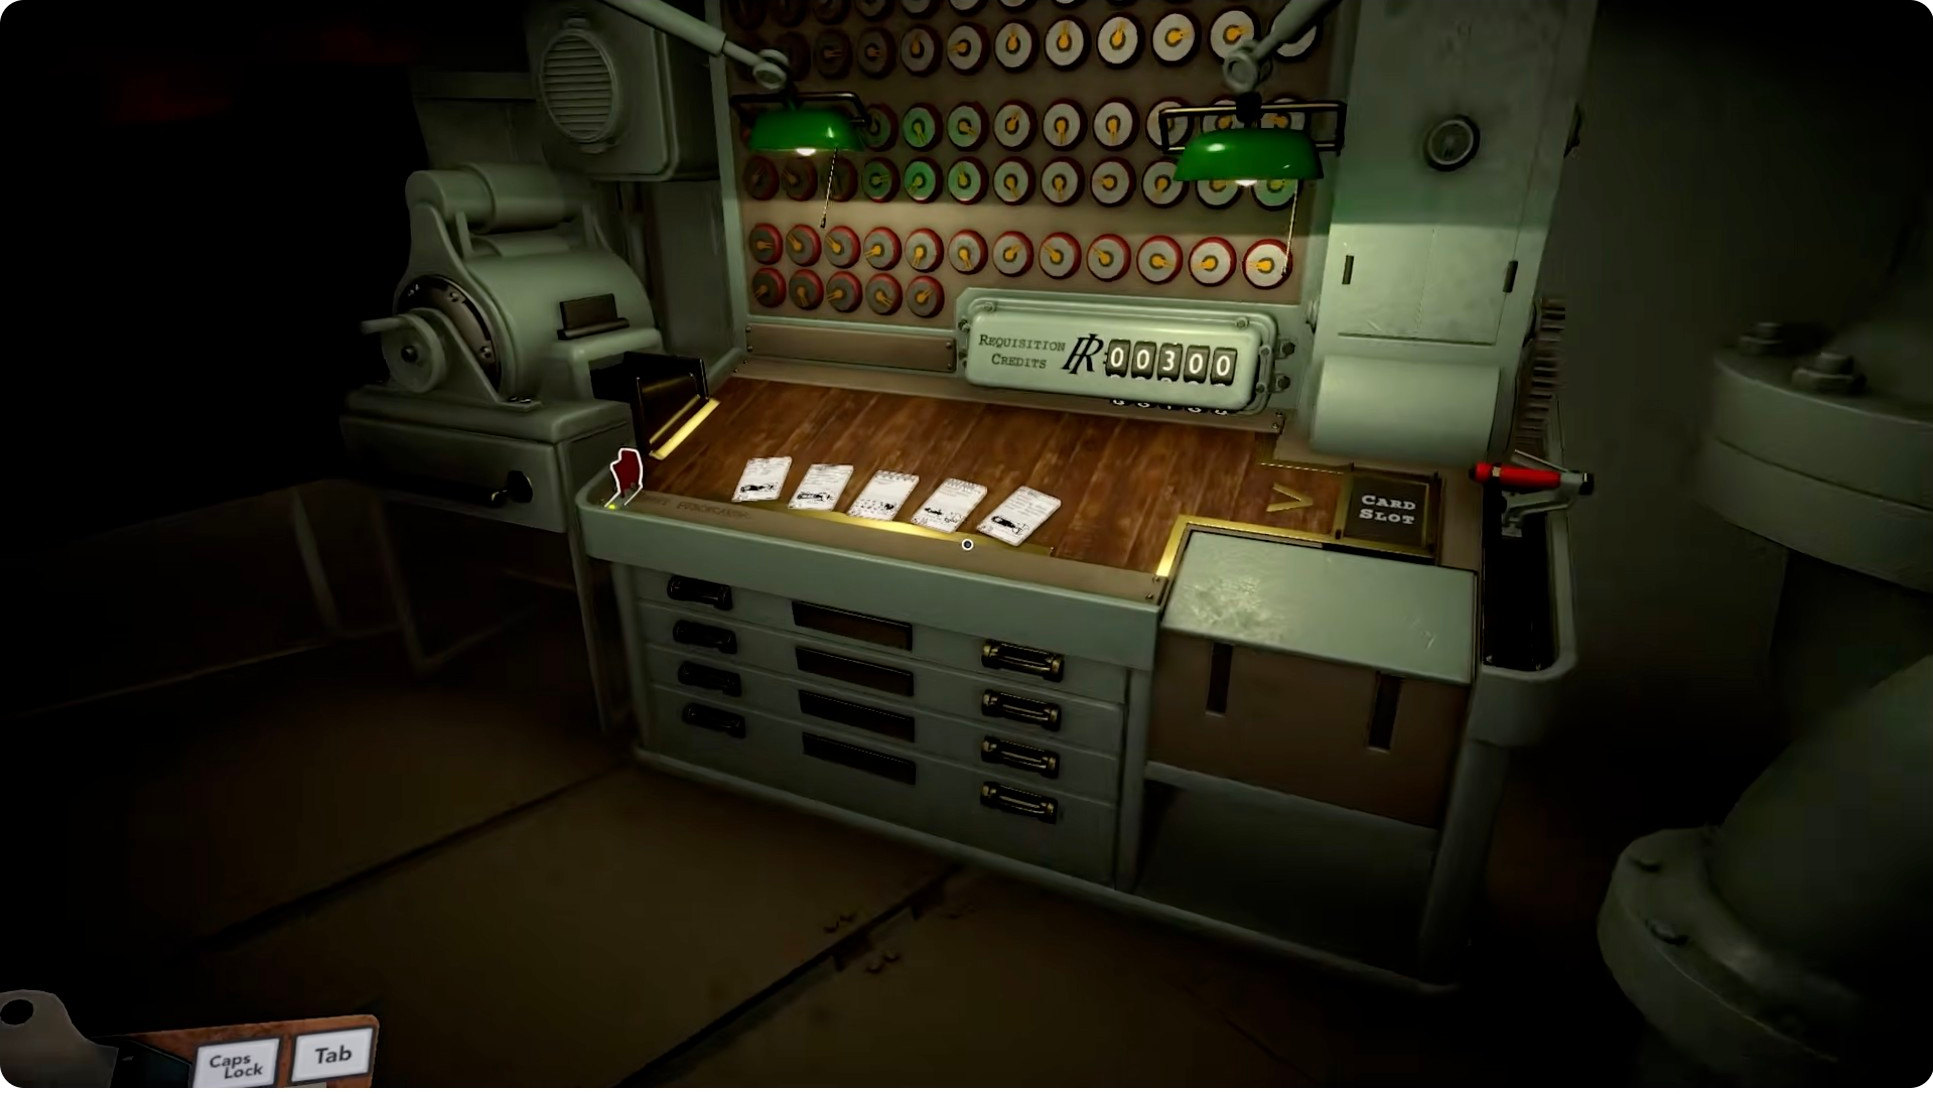
300 (IN-GAME TEXT + OBSERVED: requisition console displays R 00300; auto-generated captions from a second video independently state "Requisition credits are 300")
Powder charges
20
Medal slots
4
Punchcards unlocked
1 — INCN Shell (price 12 in the 1.0 build)
Campaign entities
7 entities · 1 armored — the "1 armored" entity is the ammo cache (armour flag 1); all five infantry targets are unarmored
3 (bearing accuracy ±0.5°; build extraction confirms three spotter instances across three zones)
Turret placements
I6 and H8 (two repositioning points)
Allied sector
G3–K10
Achievement (REPORTED binding)
Liberation — associated with the third campaign operation
Official mission description (IN-GAME TEXT, extracted from the 1.0 build):"Anti-monarchist forces have maintained an occupation of Ciudad Real. High Command has ordered the city restored to the Crown. Iron Nest has been repositioned to support the operation. Requisition procurement is authorised to meet operational requirements."
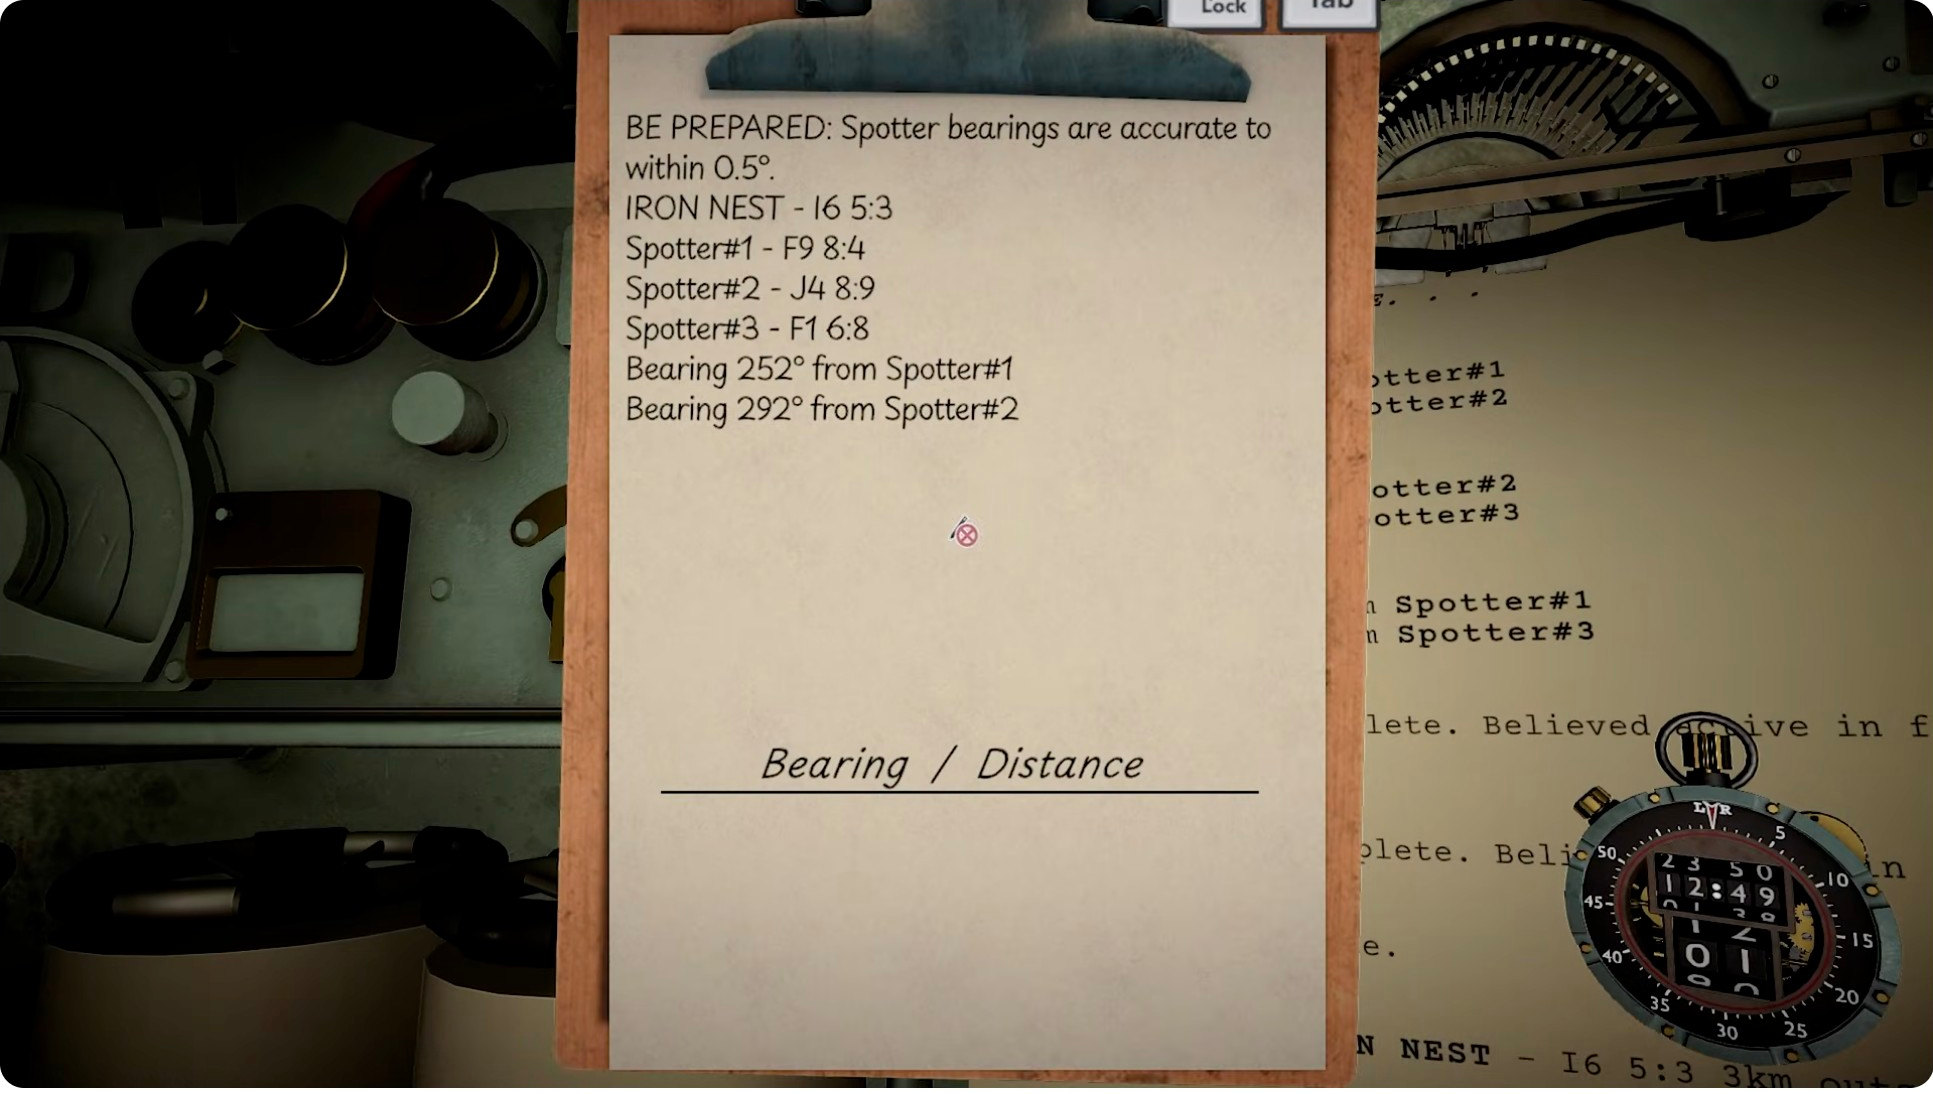
The requisition console at mission start, displaying 300 credits. Frame from a public YouTube no-commentary full-run video (uploaded August 8, 2026, pre-Patch #4).The mission briefing clipboard with all spotter and target data. Frame from a public YouTube no-commentary full-run video (uploaded August 8, 2026, pre-Patch #4).
Liberation walkthrough, stage by stage
The route below merges the in-mission briefing (IN-GAME TEXT), one pre-patch written guide (REPORTED, updated August 7, 2026), and three public videos (OBSERVED, all pre-Patch #4). The guide organizes the mission into three player-action stages that align with the briefing's four internal phases.
Stage 1 — Reposition Iron Nest, then destroy the first three infantry
Evidence: IN-GAME TEXT · REPORTED · OBSERVED
REPORTED (written guide): Liberation moves Iron Nest to a new firing position at the start. "Do not leave the old Iron Nest marker on the table. A target can be correctly located from the field reports while the final shell still misses because the red firing line begins at the previous mission position."
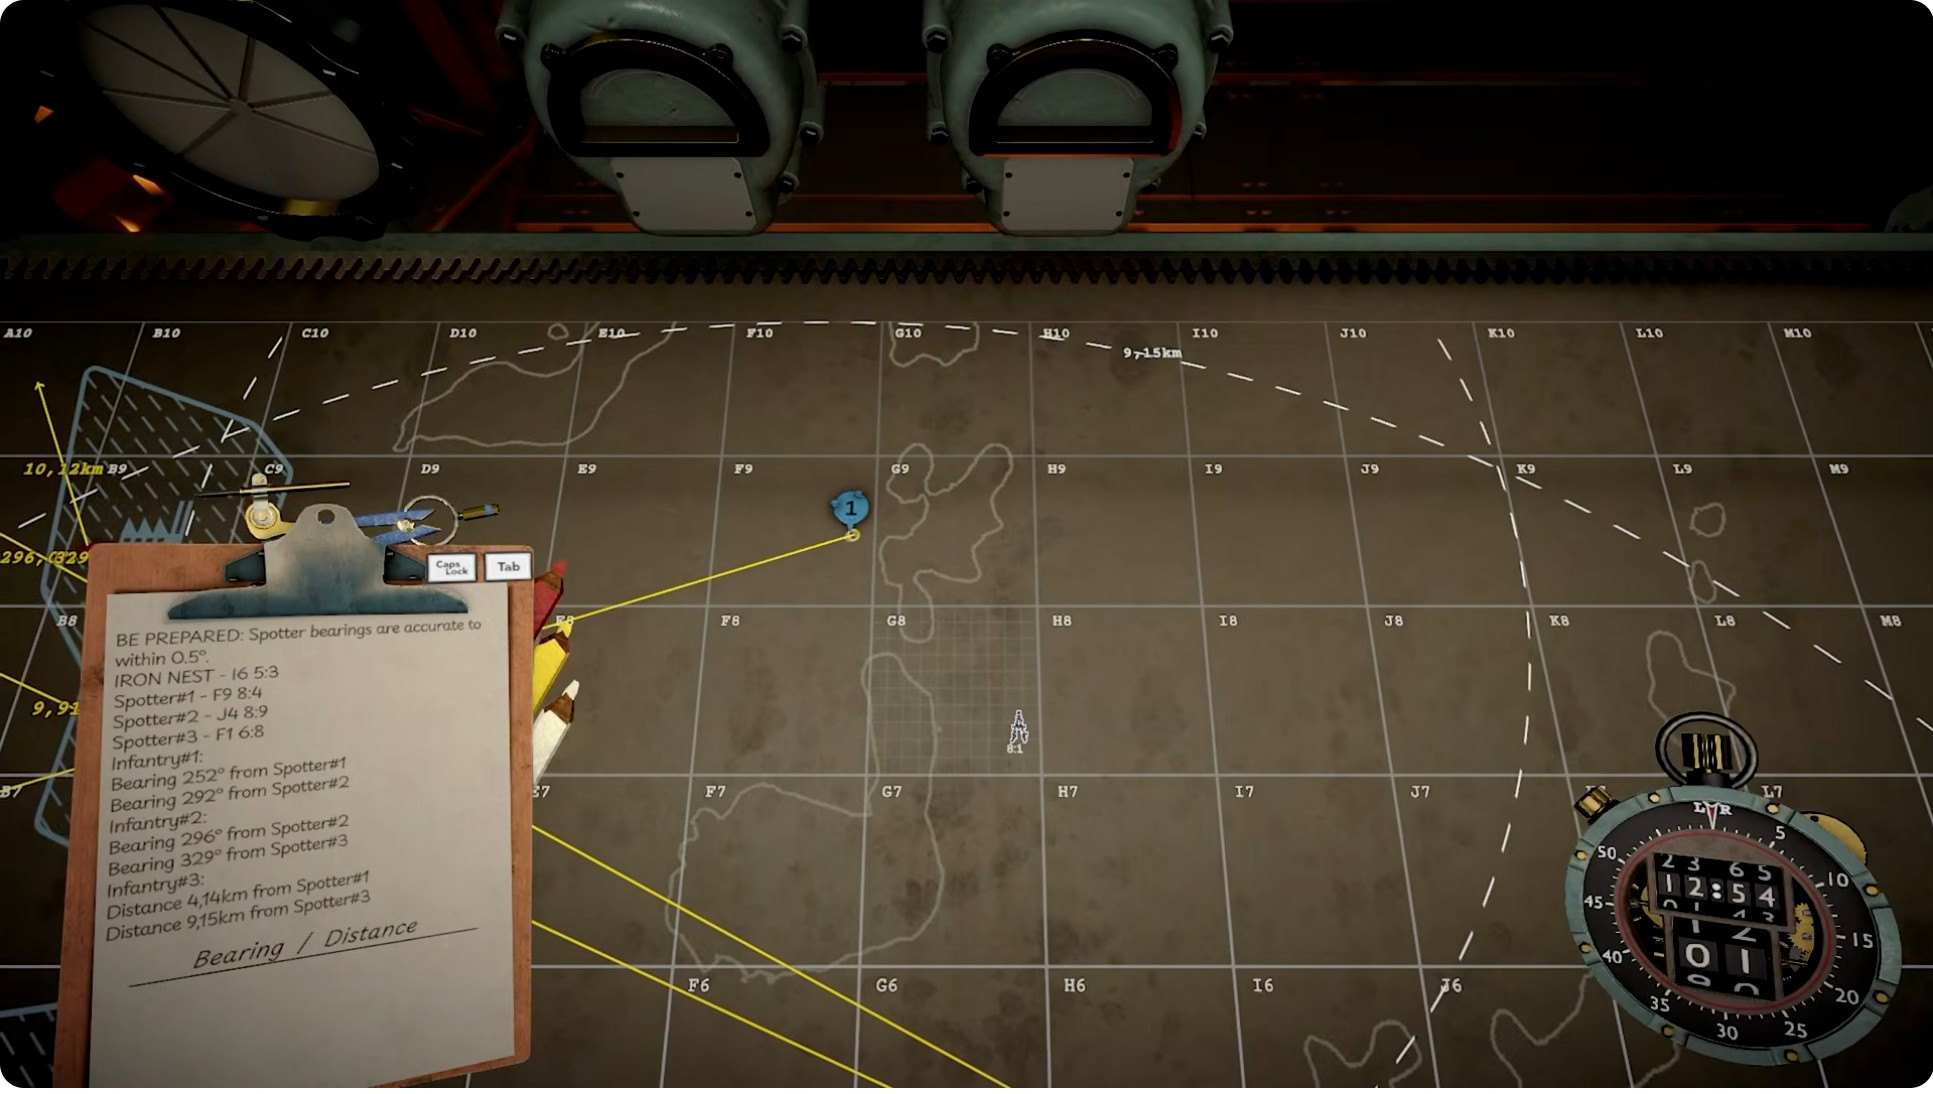
IN-GAME TEXT (briefing transcription): The mission deploys three spotters with bearings accurate to within 0.5°. Initial Field Intelligence lists three enemy targets with known bearings and distances. The briefing phase is: "Repositioning. New firing origin confirmed. Destroy hostile infantry."
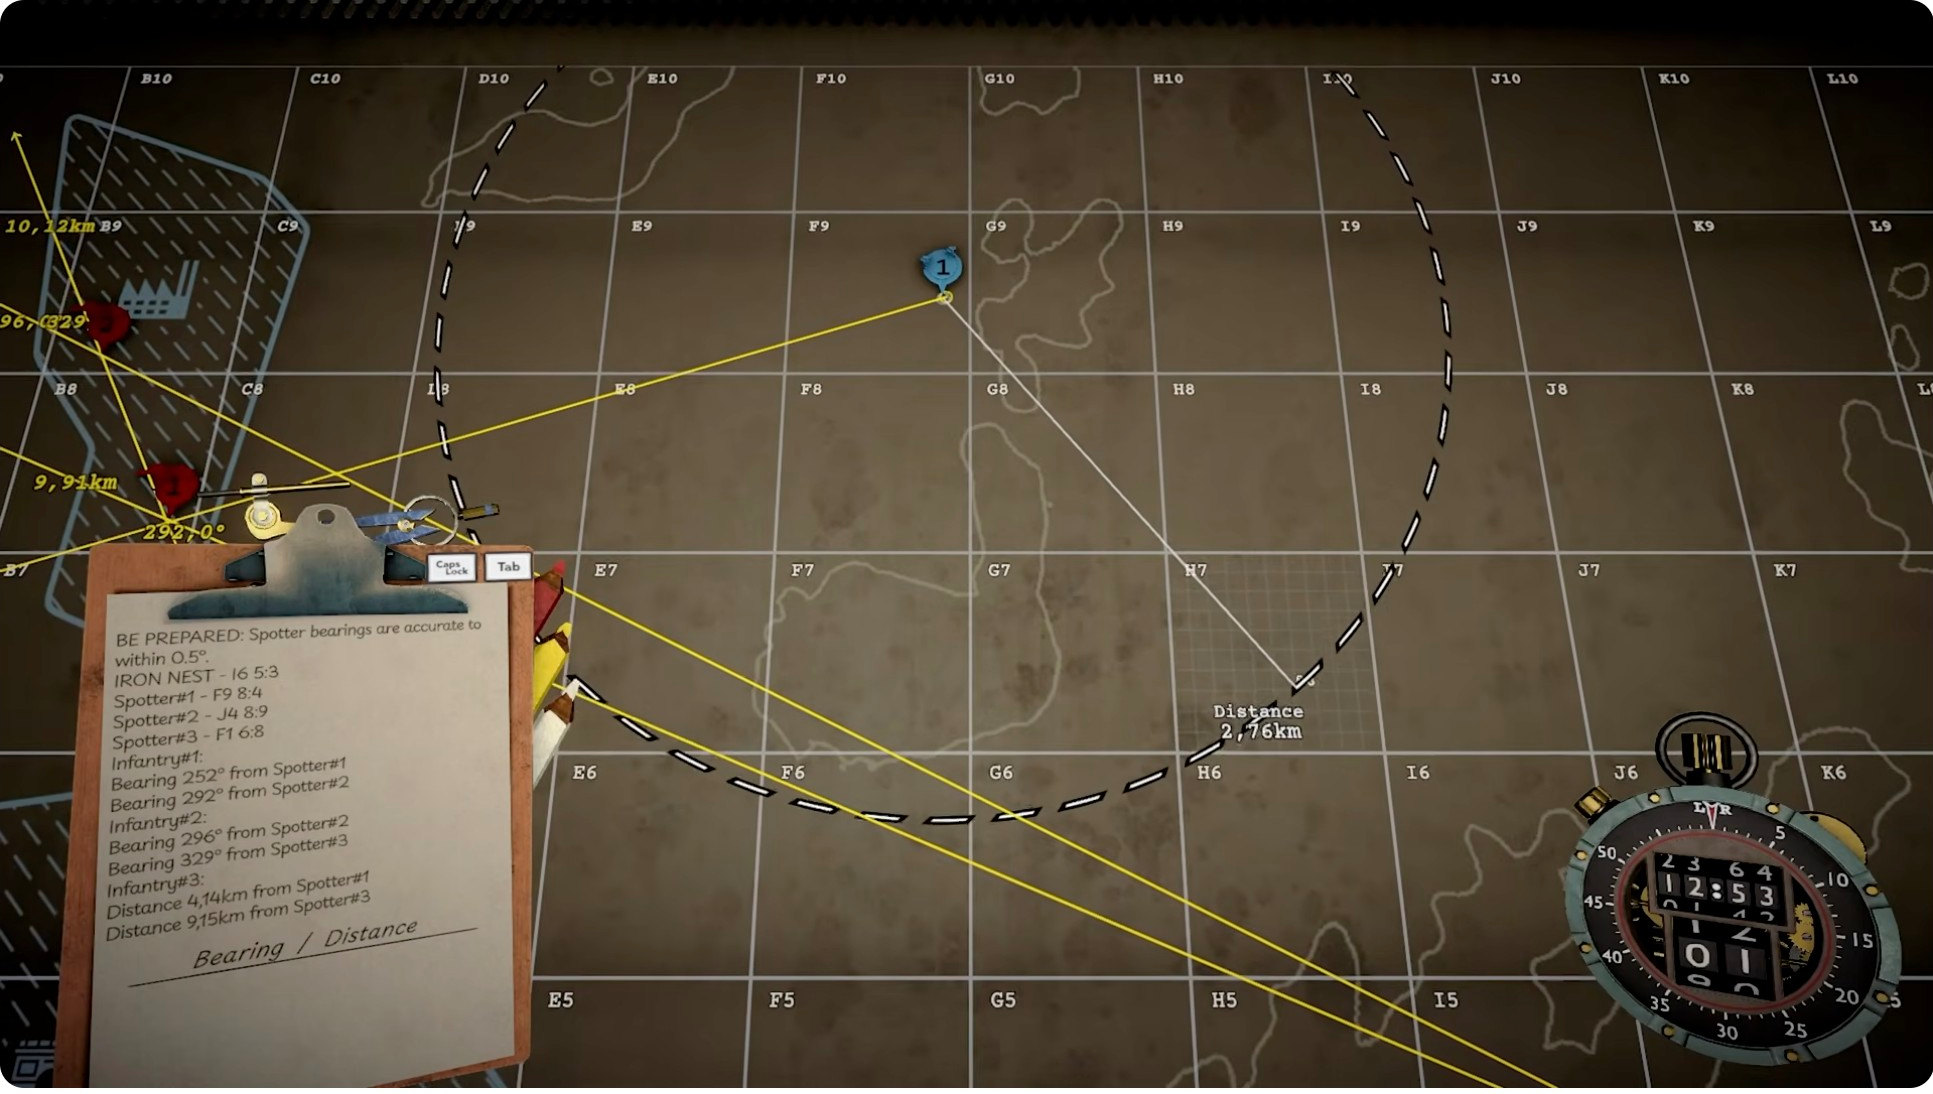
OBSERVED (footage): The player marks all three spotters on the map, requests bearings, and triangulates the first three infantry targets. HE shells destroy all three. Footage confirms the spotter bearing accuracy and the triangulation workflow.
The briefing clipboard with spotter data. Frame from a public YouTube no-commentary full-run video (uploaded August 8, 2026, pre-Patch #4).Triangulation on the tactical map: bearings from two spotters intersect at the target, 2.46 km out. Frame from a public YouTube no-commentary full-run video (uploaded August 8, 2026, pre-Patch #4).
Completion signal: Three infantry targets destroyed. The typewriter then issues a reconnaissance-plane card and orders a recon flight over P4.
Stage 2 — Recon the ammo cache in P4, then destroy it with AP
Evidence: IN-GAME TEXT · REPORTED · OBSERVED
IN-GAME TEXT (briefing transcription):"PRIORITY: Conduct recon flight over grid [REGION <ammoCache>]. Confirm position, then neutralise with AP ordnance." The bracketed variable confirms the cache position is dynamic — it changes every run.
REPORTED (written guide):"Command issues a reconnaissance-plane card. Use the issued card over P4 before purchasing AP." The recon card is free — it does not cost requisition. However, the flight itself breaks your kill streak because you cannot fire during the overflight. "Do not spend normal requisition on a second flight before the issued card resolves."
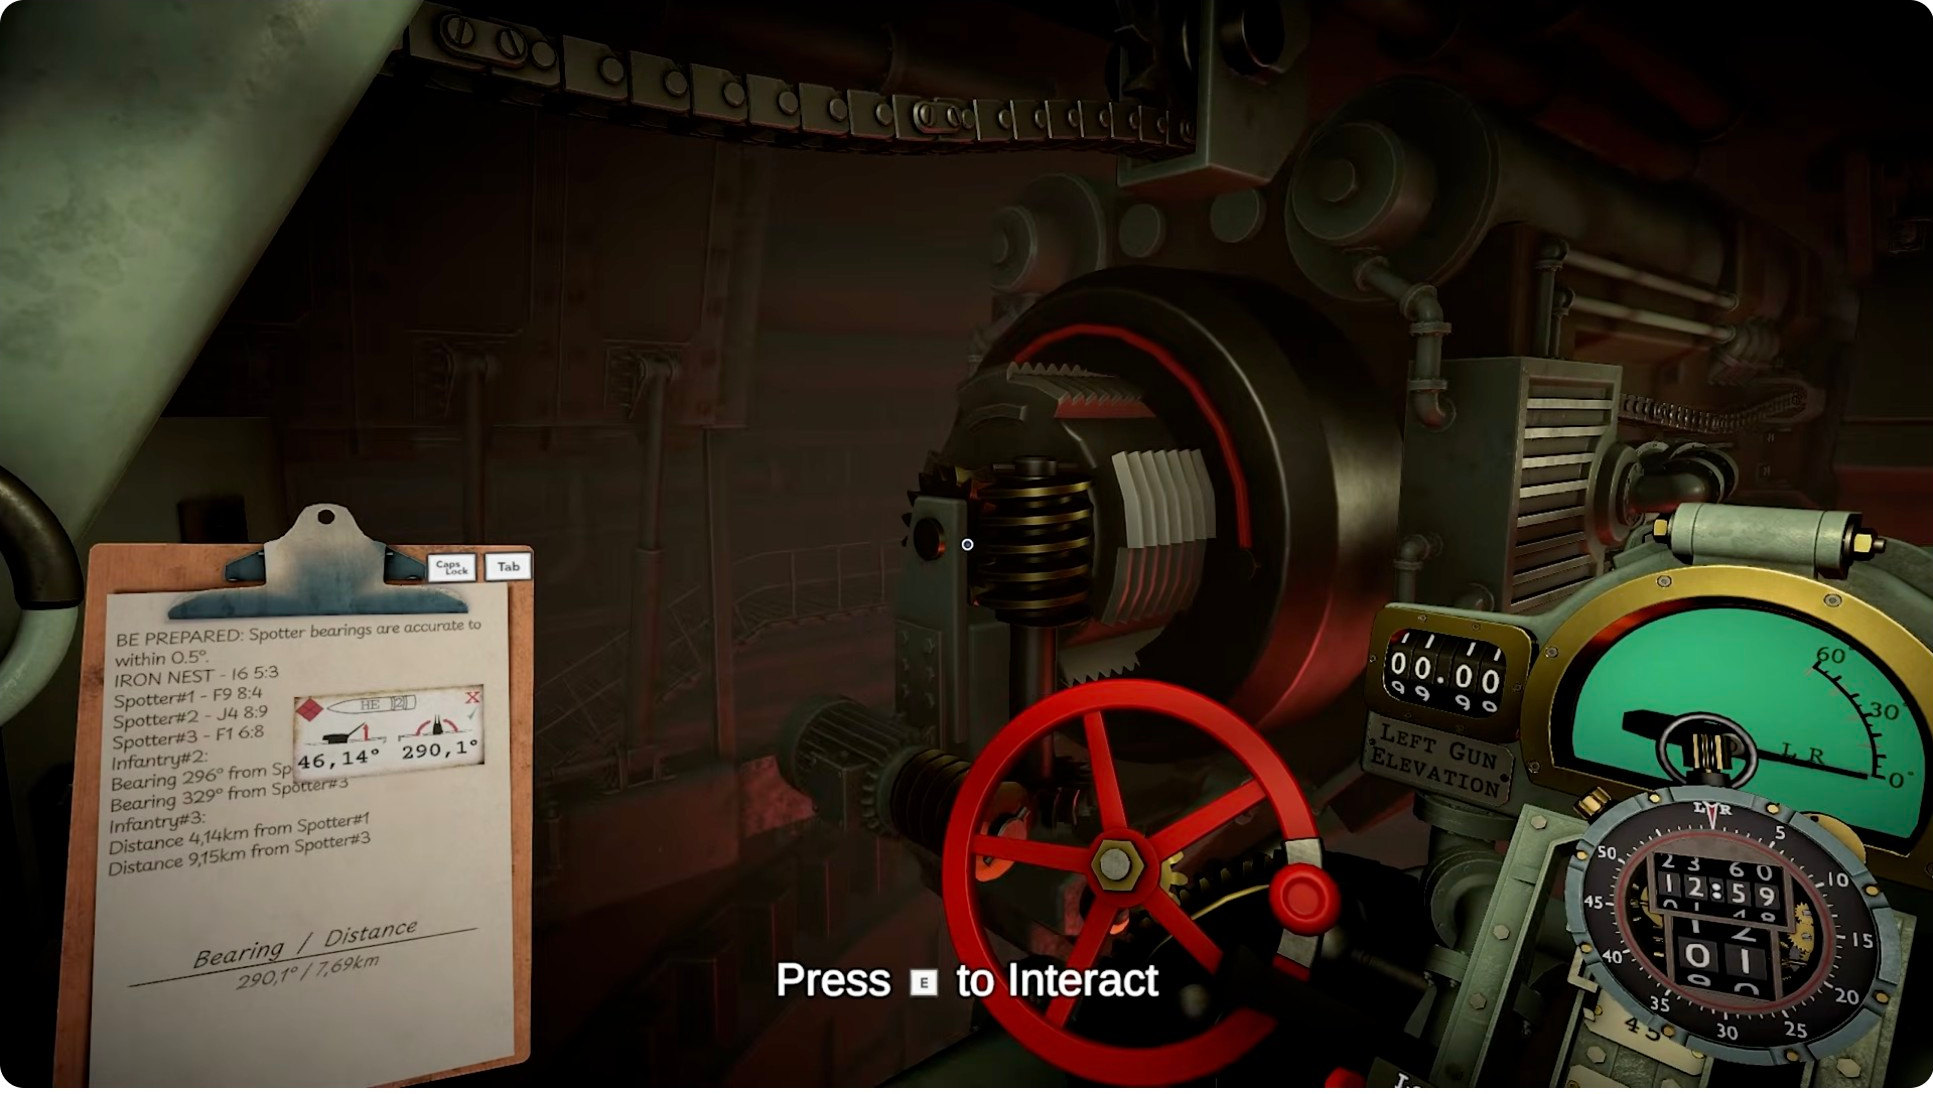
OBSERVED (footage): A player who first tried HE on the cache wasted a shell — the in-mission response was ineffective against the underground structure. High Command then repeated: "Hit it with AP." The player switched to AP and destroyed the cache. On destruction, the target yielded +75 requisition (OBSERVED, auto-generated captions).
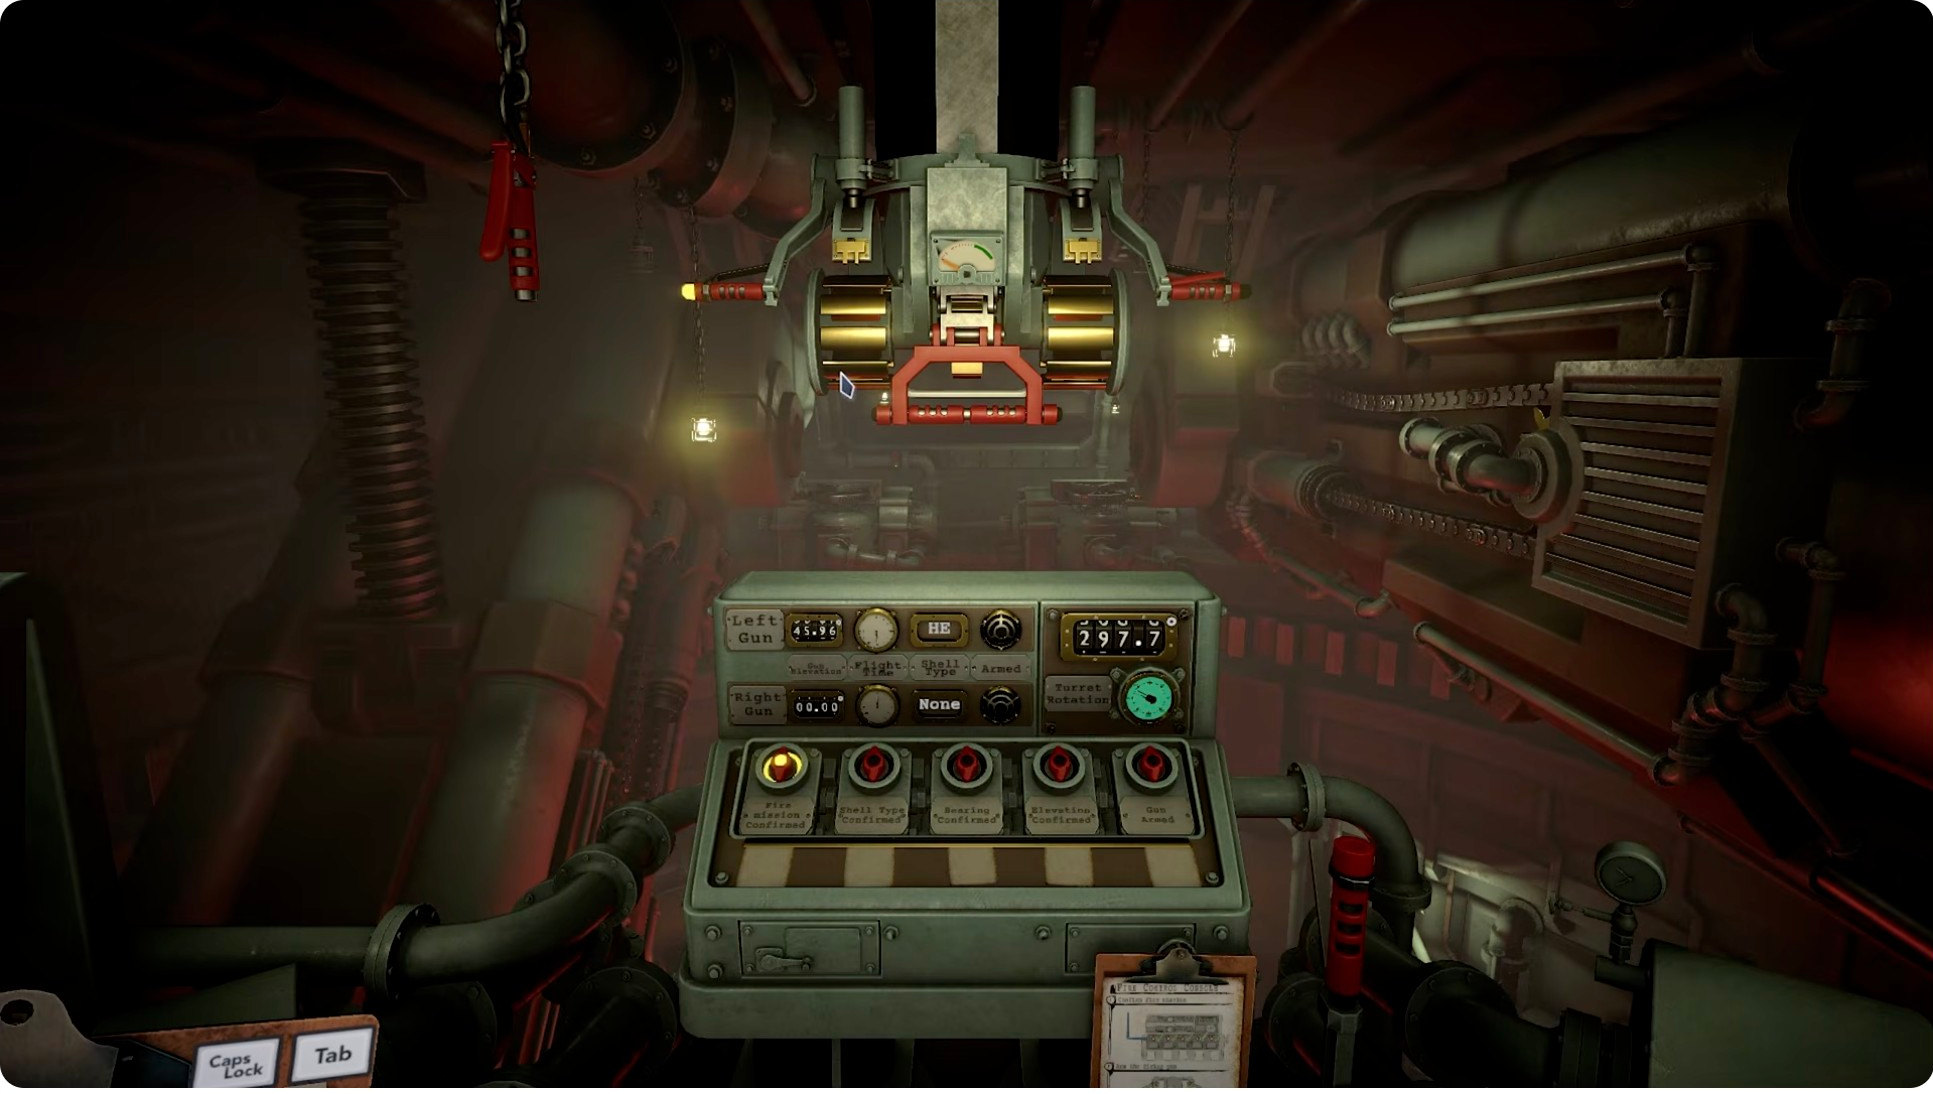
The turret interior during the ammo cache engagement. Frame from a public YouTube no-commentary full-run video (uploaded August 8, 2026, pre-Patch #4).The turret console during the P4 reconnaissance phase. Frame from a public YouTube no-commentary full-run video (uploaded August 8, 2026, pre-Patch #4).
Key facts about the ammo cache:
The cache is in grid P4 (IN-GAME TEXT). Its exact position within P4 changes every run.
The typewriter issues a free recon card for the first P4 flight (IN-GAME TEXT + REPORTED). Additional flights cost requisition.
AP shells are required. Build data flags the cache as armored (armour = 1) with one hit point, and AP's damage value (2) is double HE's (1) — consistent with the observed result that HE has no effect while AP destroys it (IN-GAME TEXT build extraction + REPORTED + OBSERVED).
Destroying the cache returns +75 RP to your requisition pool (OBSERVED).
The recon flight breaks your kill streak — you cannot fire during the overflight (REPORTED, community-confirmed).
Completion signal: Cache destroyed. The final two infantry targets now appear on the intelligence board.
Stage 3 — Find and destroy the final two infantry
Evidence: IN-GAME TEXT · REPORTED · OBSERVED
IN-GAME TEXT (briefing transcription): Targets 4 and 5 start with incomplete intelligence: "Intelligence incomplete. Believed active in friendly urban sectors." They do not appear on the board until the cache is destroyed.
REPORTED (written guide): One of the final two infantry is danger-close to friendly units or hospital icons. "AP is not required because the infantry is armored. It is chosen because this specific target is danger-close. Use H for the isolated target and AP for the danger-close target when an H blast would reach friendly or protected icons."
REPORTED (written guide, dual-gun setup): Load H into the left gun for the isolated target and AP into the right gun for the danger-close target. Confirm gun-side, elevation, and charge for each, then fire sequentially.
OBSERVED (footage, demo version): A player who hit a friendly unit during this phase received the penalty: "killed one enemy, but also one good person." Friendly kills cost −10 requisition and affect the Measured Fire Star medal (gold requires zero ally kills).
Completion signal: All five infantry and the cache destroyed. Command issues the stand-down order. "Sector clear."
Where is the ammo bunker in Mission 3?
Evidence: IN-GAME TEXT · REPORTED · OBSERVED
The ammo bunker — also called the ammo cache, supply cache, or underground AP cache depending on the source — is in grid P4. Its exact position within P4 changes every run. The briefing uses a template variable [REGION <ammoCache>] where the coordinates would be, confirming the position is randomized.
You do not need to guess. The typewriter issues a free reconnaissance-plane card at the start of Stage 2. Fly it over P4 to reveal the cache position on your map. The cache appears as a gravestone-like icon (OBSERVED, demo footage: "The symbol was a gravestone or something. Which means supply cache.").
AP is required. Build data flags the cache as armored (armour = 1) with one hit point; AP deals 2 damage to HE's 1, which matches the observed behavior — HE has no effect and AP destroys it. One player wasted a shell trying HE before High Command repeated the AP order (OBSERVED).
Destroying the cache returns +75 requisition (OBSERVED), making it a net positive even after spending RP on AP shells.
What is the 5th infantry target in Mission 3?
Evidence: IN-GAME TEXT · REPORTED
"5th infantry" refers to the fifth hostile infantry target in Liberation — not a military unit designation like the 5th Infantry Division. The briefing orders you to "Destroy 5 hostile infantry units," and Initial Field Intelligence lists five EnemyTargets.
Targets 1–3 start with known bearings and distances. Targets 4 and 5 start with incomplete intelligence: "Intelligence incomplete. Believed active in friendly urban sectors." They do not appear on the board until the ammo cache is destroyed.
This is why players ask "no 5th infantry?" in the community — the fifth target is not missing, it just has not spawned yet. It will appear after Stage 2.
Spotter positions in the demo and full game
Evidence: OBSERVED (demo footage) · REPORTED
Yes, Mission 3 (Liberation) is in the demo. A public demo-era video explicitly states "this is the demo. The game doesn't come out till next week" while playing through the full Liberation mission — three spotters, P4 recon, AP cache destruction, and all five infantry targets.
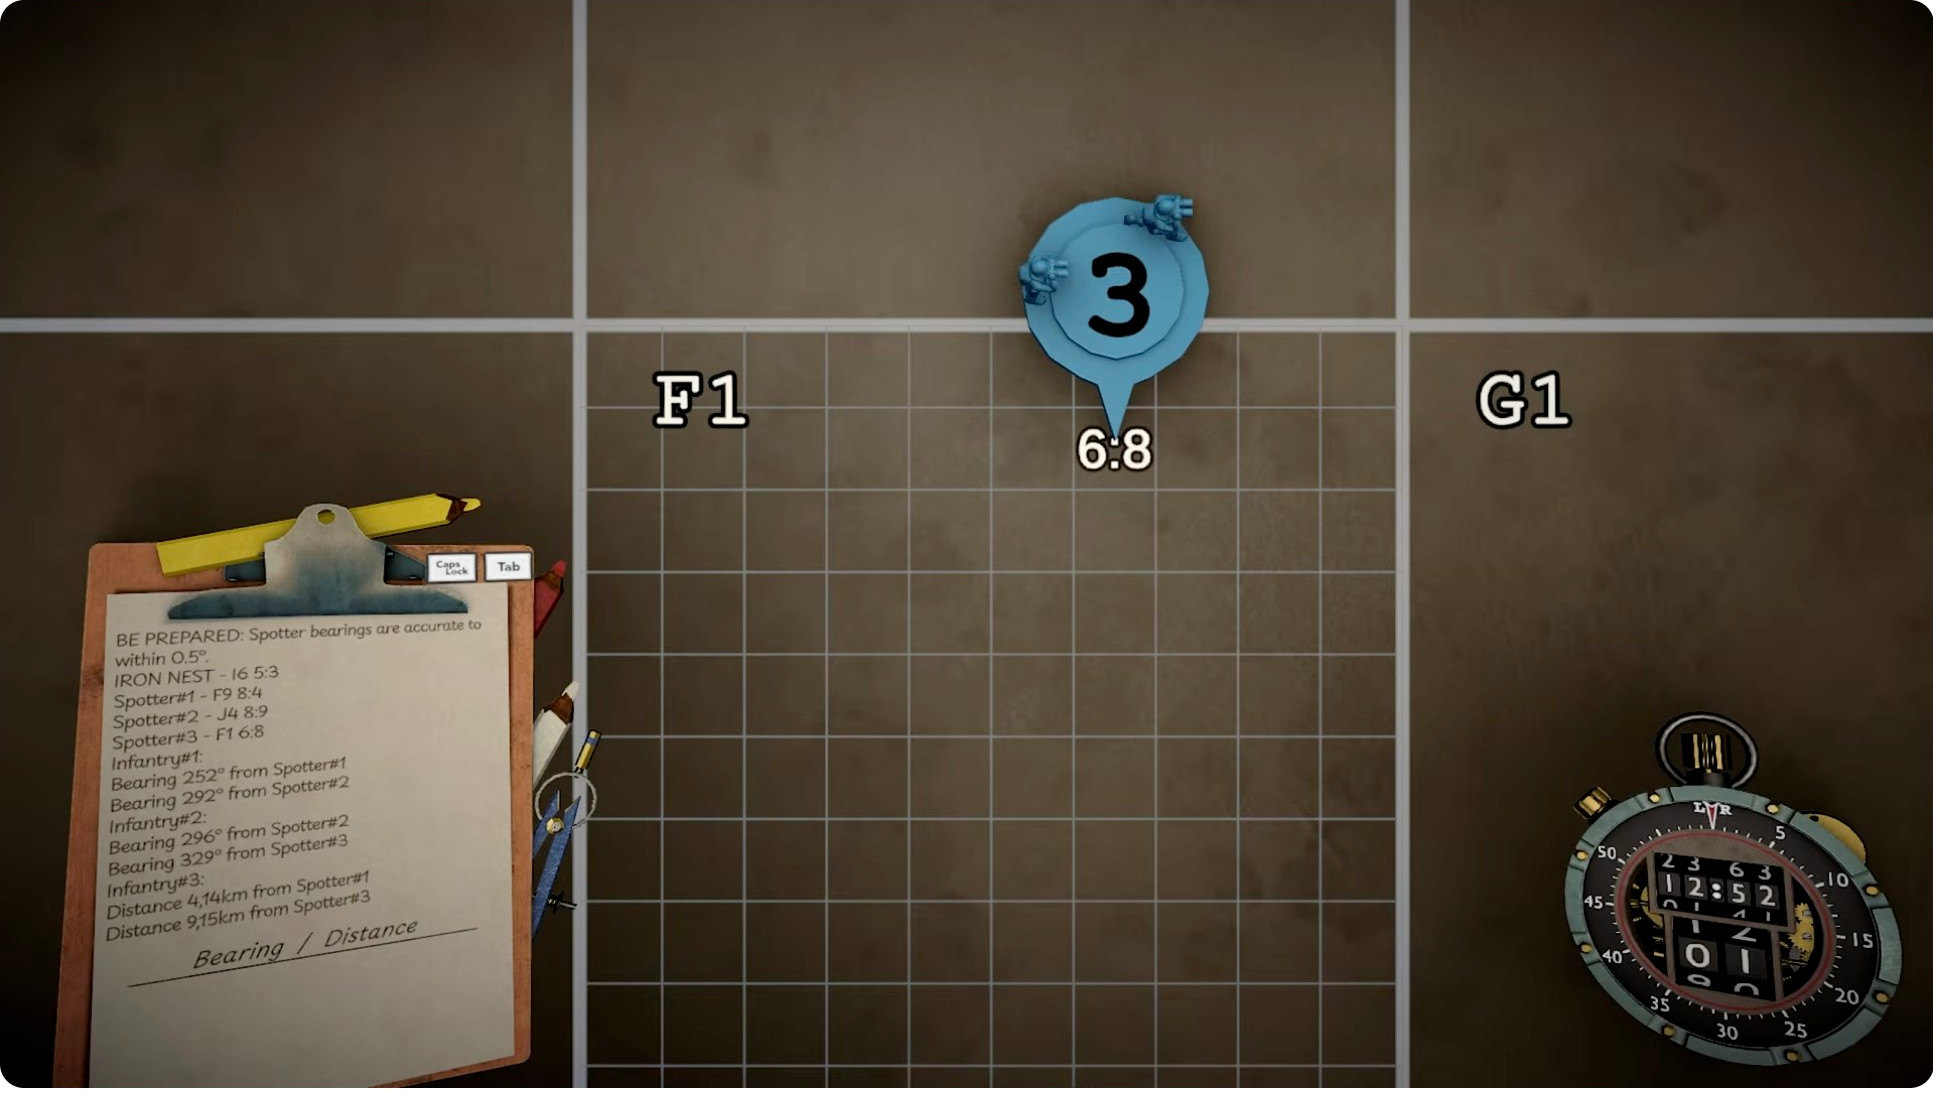
The demo footage shows three spotters deployed in the sector with bearing accuracy of ±0.5°. Specific spotter positions are randomized each run (the briefing uses template variables [GRID <turret>] for spotter placements). One observed run showed spotters at approximately F9, J6, and D2 (OBSERVED, single run — not fixed coordinates).
Version note: The demo footage predates the full release. The mission structure (three stages, five infantry, P4 cache) matches the full-game evidence, but specific UI details and balance may differ. No post-Patch #4 footage has been verified.
A spotter position marker on the tactical map. Frame from a public YouTube no-commentary full-run video (uploaded August 8, 2026, pre-Patch #4).
Consecutive kills and friendly protection
Kill streaks (Unbroken Volley medal)
Evidence: IN-GAME TEXT · REPORTED (community, multi-source)
The Unbroken Volley medal tracks your longest kill streak. Gold requires a streak of 6 or more — which equals all five infantry plus the ammo cache, the maximum possible in a single run.
What breaks a streak (REPORTED, community multi-source):
Any non-lethal shell (star shell, smoke, tear gas) resets the streak to zero.
A reconnaissance flight resets the streak — you cannot fire during the overflight.
Multiple kills from one shell (a "2-for-1") count as a single kill, not two.
The core conflict: The P4 recon flight is required to find the ammo cache, but it breaks your kill streak. This makes the Unbroken Volley (streak ≥ 6) and Austere Service (RP spent ≤ 30) medals effectively mutually exclusive in a single run — you cannot both fly the recon and maintain an unbroken streak across all six kills.
REPORTED (community): The DRIL shell, which would help with low-RP runs, is not unlocked on a first playthrough of Liberation, making the Austere Service gold medal practically unachievable on the first attempt. A developer patch note confirms an unrelated kill-streak medal fix was in testing for a different mission (Iron Road), but no fix has been verified for Liberation.
Friendly units and hospitals
Evidence: IN-GAME TEXT · REPORTED · OBSERVED
Friendly units occupy their own sector (G3–K10). The briefing warns: "Destroy unstarred ally (not mission target): −10 requisition." The Measured Fire Star medal requires zero ally kills for gold.
Build data (1.0) shows the mission spawns 17 civilians, 5 police, 2 propaganda stations, and 3 hospitals across the city sectors, plus 3 spotters as observation assets — 36 friendly/neutral spawns in total. Police and propaganda stations count as friendly units, so treat them like hospitals when a target is danger-close (IN-GAME TEXT build extraction).
Hospitals or medical centers appear as map icons (star or gravestone-type markers) with their own grid positions. They are distinct from generic friendly units. One community member noted: "I didn't even know Liberation had hospitals" — they are easy to miss until you check the map carefully.
Practical advice (REPORTED, written guide + IN-GAME TEXT build extraction): When a target is danger-close to friendly or hospital icons, use AP instead of HE. Build data puts AP's blast radius at 0.15, HE's at 0.25, and HCHE's at 0.55 — AP covers roughly 60% of HE's radius and about a quarter of HCHE's, so it avoids collateral damage. For isolated targets, HE is more efficient. One demo-era player demonstrated an alternative technique: aiming at open ground outside the city walls and using HE splash damage to kill the target without endangering civilians (OBSERVED, demo footage).
Demo vs full game
Evidence: OBSERVED (demo footage) · REPORTED
Demo vs full game
Aspect
Demo
Full game (pre-Patch #4)
Mission 3 playable
Yes — demo-era footage shows a complete Liberation run
Yes
Three spotters
Yes (±0.5° accuracy confirmed)
Yes (confirmed by two independent videos)
P4 ammo cache
Yes (recon card + AP destruction shown)
Yes (confirmed)
Five infantry targets
Yes (all five destroyed)
Yes (confirmed)
Build number
Not shown
Not shown
Typewriter / requisition text
Identical wording to the full game (requisition strings 1–9 match byte-for-byte; IN-GAME TEXT build extraction)
Identical wording to the demo
Patch status
Pre-release demo
Pre-Patch #4 (all footage uploaded before August 12, 2026)
For the demo's overall scope and task count, see the Demo guide.
Liberation highlighted on the campaign mission selection map. Frame from a public YouTube no-commentary full-run video (uploaded August 8, 2026, pre-Patch #4).
Patch and version notes
Evidence: OFFICIAL wording (absence of Mission 3 entries)
Patch and version notes
Version
Date
Liberation change
Pre-release demo
Before full launch
Demo includes Mission 3 (Liberation) as playable content (OBSERVED)
1.0 (1558) → 1.0 (1577)
Full release window
None recorded in the reviewed sources
1.0 (1618) — Patch #4
August 12, 2026 (live)
No Mission 3 entry found. The developer patch note lists changes for other missions (including Phantom Battery balancing and an Iron Road kill-streak fix) but does not mention Liberation.
1.0 (1622)
Testing branch as of August 16, 2026
No Liberation entry listed
This guide does not claim Patch #4 changed anything about Liberation. All footage and guides reviewed predate the patch. No post-patch gameplay has been verified. If you are playing after Patch #4 and observe differences, the mission structure (three stages, five infantry, P4 cache) should still apply, but specific UI details or balance values may have shifted.
Requisition, upgrades, and rewards
Evidence: IN-GAME TEXT (transcribed kill-reward table) · OBSERVED · REPORTED
You start with 300 requisition. Kills return RP to your pool:
Target type — RP returned
Target type
RP returned
Unstarred enemy
+5
1★ enemy
+25
2★ enemy
+50
3★ enemy (incl. ammo cache)
+75
4★ enemy
+100
5★ enemy
+125
Friendly kill (penalty)
−10
Punchcard unlocked: INCN Shell (available for subsequent missions).
Available items at the Requisition Console (OBSERVED, pre-Patch #4): Star shells, powder charges, scout plane, AP shells, HE shells. The DRIL shell is not unlocked on a first playthrough.
Requisition prices (IN-GAME TEXT, extracted from the 1.0 build; demo prices shown for comparison):
Item — Price in 1.0 — Demo price
Item
Price in 1.0
Demo price
AP Shell
10
3
HE Shell
10
3
HCHE Shell
18
5
STAR Shell
2
1
SMK Shell
2
1
Scout Plane
60
20
Scout Plane (one-time)
15
5
Powder Charges
5
4
INCN Shell
12
not purchasable in the demo
DRIL Shell
3
not purchasable in the demo
Demo prices were roughly one-third of 1.0 prices (median increase 3.00×, range 1.25–3.60×). Cards marked "not purchasable in the demo" above — plus three more in the full 27-card catalog — all have real prices in 1.0. All 27 punchcard prices in the build match the mission database.
Medals (IN-GAME TEXT transcription; build unknown)
Medal — Gold threshold
Medal
Gold threshold
Measured Fire Star
Ally kills ≤ 0
Marksman's Cross
Average impact distance from nearest target ≤ 0.3
Unbroken Volley
Longest kill streak ≥ 6
Austere Service
RP spent ≤ 30
Mutual exclusivity (REPORTED): Austere Service (≤ 30 RP spent) and Unbroken Volley (streak ≥ 6) are effectively mutually exclusive — the P4 recon flight required to find the ammo cache breaks your kill streak. A first-run gold on all four medals is not realistic. Focus on one or two per run.
(For the full medal catalog and strategy across all missions, the medals page will be the canonical source — this section covers only Liberation-specific thresholds.)
FAQ
Is Mission 3 in the Iron Nest demo?
Yes. Demo-era footage explicitly confirms it: the player states "this is the demo" while playing through a complete Liberation run. The demo includes all three stages, five infantry targets, and the P4 ammo cache.
Where is the ammo bunker in Iron Nest Mission 3?
The ammo cache is in grid P4, but its exact position changes every run. The typewriter issues a free recon card — fly it over P4 to reveal the cache location on your map. The cache appears as a gravestone-like icon. AP shells are required; HE is ineffective.
What is the 5th infantry target in Iron Nest Mission 3?
The "5th infantry" is the fifth hostile infantry target, not a military unit. Targets 4 and 5 start with incomplete intelligence and appear in friendly urban sectors. They do not show up on your board until the ammo cache is destroyed. If you cannot find the fifth target, you have not finished Stage 2 yet.
How do I get consecutive kills in Iron Nest Liberation?
You need a streak of 6 for the gold medal — all five infantry plus the ammo cache. Non-lethal shells (star, smoke, tear gas) break the streak. The P4 recon flight also breaks the streak because you cannot fire during the overflight. This means the kill-streak medal and the low-spending medal are practically mutually exclusive.
Why do I keep hitting friendlies in Liberation?
Targets 4 and 5 are in friendly urban sectors (G3–K10). If a target is danger-close to friendly or hospital icons, use AP instead of HE — AP's blast radius (0.15) is about 60% of HE's (0.25), so it avoids collateral damage. Friendly kills cost −10 requisition and prevent the Measured Fire Star gold medal.
Do I need AP shells for Liberation?
Yes, for two reasons: (1) the underground ammo cache requires AP — HE is ineffective; (2) one of the final two infantry targets is danger-close to friendlies, and AP's smaller blast radius is safer. Use HE for isolated infantry targets.
What do I unlock from Liberation?
The INCN Shell punchcard, available for subsequent missions (IN-GAME TEXT).
Did Patch #4 change anything about Liberation?
No Mission 3 entry was found in the Patch #4 notes (August 12, 2026). The patch addresses other missions. All evidence on this page predates the patch; no post-patch gameplay has been verified.
Why isn't my mission ending after I destroy the ammo cache?
Because the mission is not over. You still need to destroy the final two infantry targets (which appear after the cache is destroyed) and receive the stand-down order from command. The mission ends only when all five infantry and the cache are destroyed.
Sources and version notes
Reviewed August 16–17, 2026. Evidence types and dates are stated beside each claim above.
Official: developer patch notes for Version 1.0 (1618) / Patch #4 (August 12, 2026), retrieved from the official Discord — no Mission 3 entry found; official achievement names on the game's platform store page.
In-game text: briefing, comm messages, kill-reward table, and medal thresholds transcribed by a public mission database (ironnestdb.com, retrieved August 16, 2026; build not stated); mission description, entity spawn data, shell values, medal thresholds, and punchcard prices extracted from the 1.0 game build (build 24750322) and the demo build (23991575) via the shared game-data extraction (August 2026). Template variables ([REGION <ammoCache>], [GRID <turret>]) confirm dynamic elements.
Observed footage: three public YouTube videos — a no-commentary full run (uploaded August 8, 2026, pre-Patch #4), a narrated demo-era playthrough (pre-release), and an auto-captioned full gameplay video (uploaded August 11, 2026, pre-Patch #4). None display a build number. Screenshots on this page are single frames from the first video, used as research evidence with attribution.
Reported: one pre-patch written guide (whisperofthehouse.com, updated August 7, 2026) and dated community posts in the official Discord (August 2026).