UNOFFICIAL GUIDE · Facts reviewed August 23, 2026 · Game-build data extracted August 17, 2026 (build 24750322) · Example values are per-run and marked as examples
CAMPAIGN MISSION DOSSIER · UNOFFICIAL
Iron Nest: Mission 2 Fire and Light Walkthrough
IRON NEST Mission 2 (Fire and Light) runs in two phases.
Quick Answer
IRON NEST Mission 2 (Fire and Light) runs in two phases.
Phase 1: use the two spotters' bearings to triangulate the hostile target, destroy it with HE, then destroy the two additional targets revealed in the reconnaissance photos.
Phase 2: switch to Star Shells only and fire over the Royal Palace. Read the yellow numbers (distance) and yellow arrows (direction) on the impact photos, move your aim from the impact point, and repeat until High Command confirms the starburst position.
Evidence: IN-GAME TEXT mechanics · OBSERVED footage · REPORTED guide steps — see how the labels work.
That completes the mission.
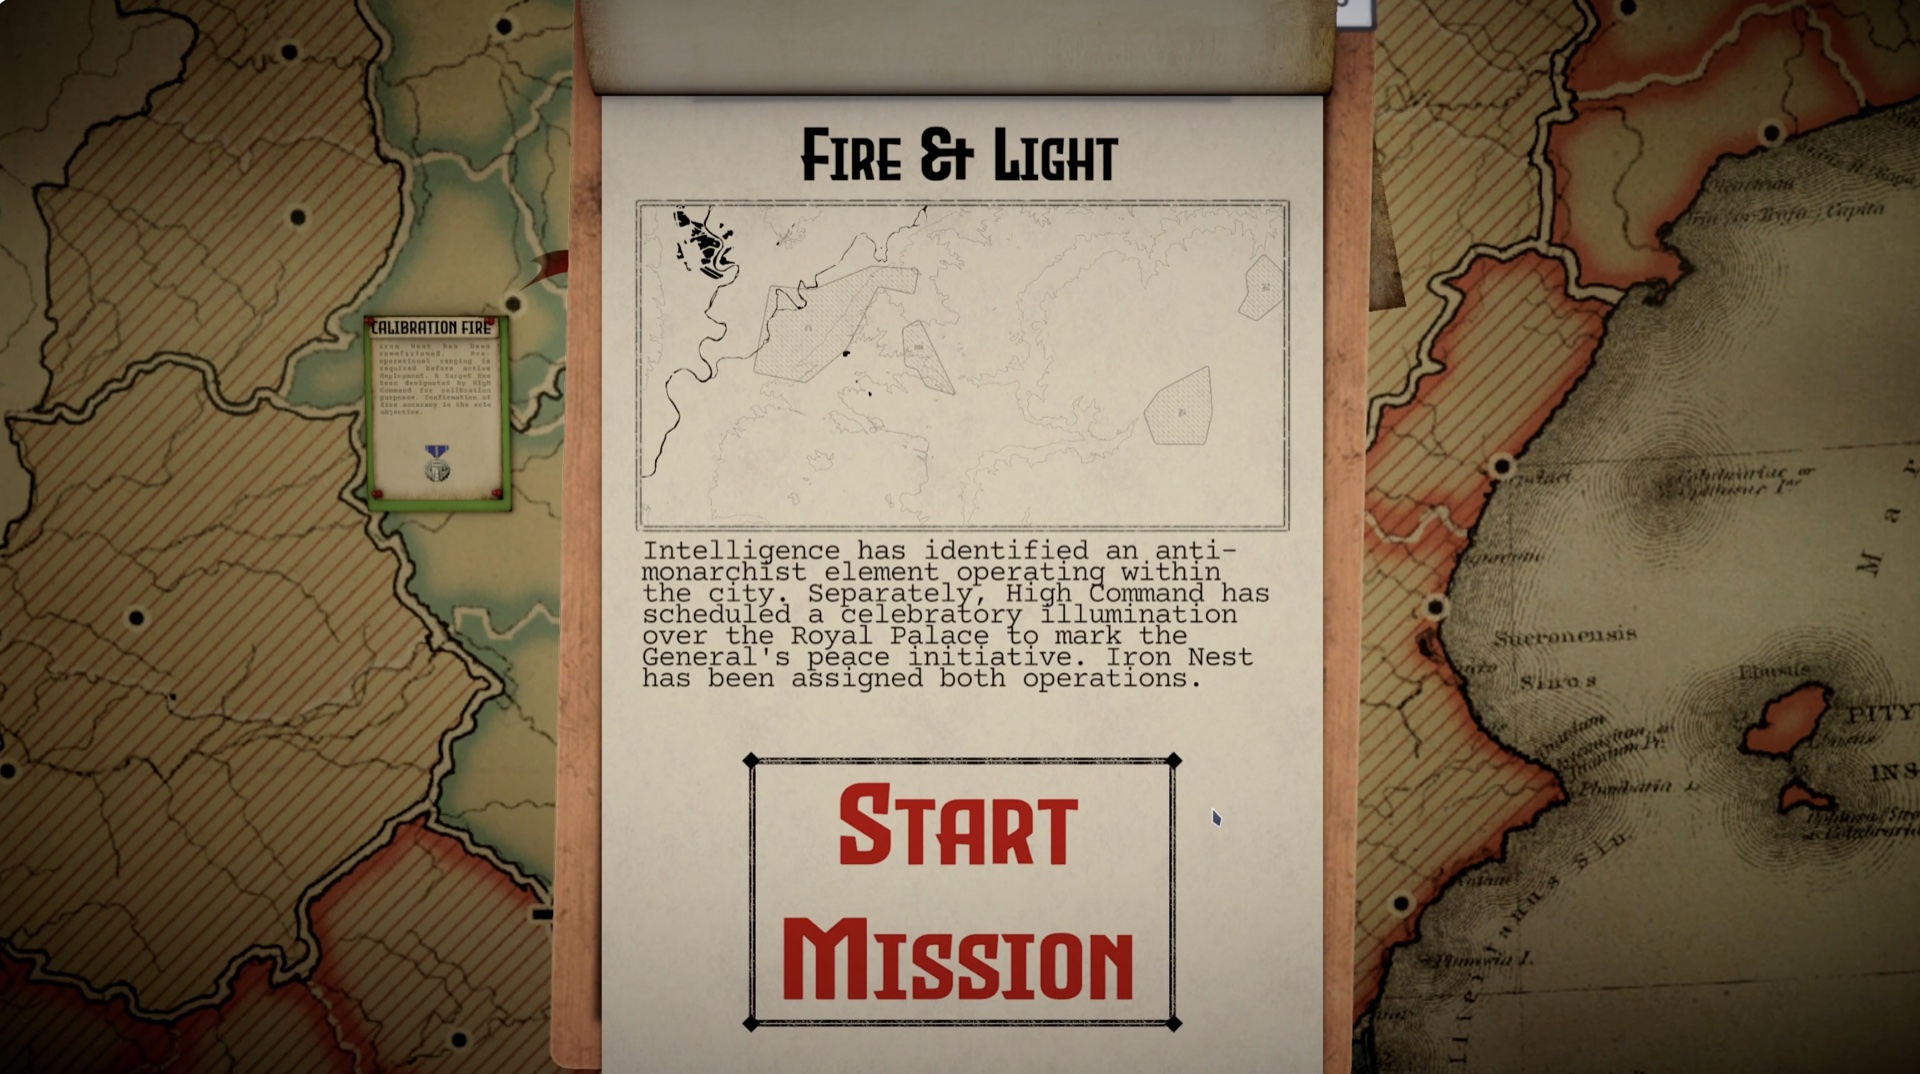
Mission 2 (Fire and Light) in-game screenshot captured by the site owner on August 23, 2026.
How to read the evidence labels
This guide is built from traceable public sources, not author gameplay testing.
How to read the evidence labels
Label
What it means on this page
OFFICIAL
A developer or official platform source directly confirms the stated fact.
IN-GAME TEXT
Wording from the mission's own briefing, comm messages, and game files — transcribed by a third-party mission database (captured build not stated) or extracted from the 1.0 game build (build 24750322) via the shared game-data extraction. Quotable wording.
OBSERVED
Public footage visibly shows the action, state, or result. Screenshots support only what is visible in the frame; videos do not display a build number.
REPORTED
A third-party guide or community posts (official Discord) describe the step; the reviewed footage may not show the full chain.
Unless a section says otherwise, footage and guides on this page were reviewed on August 22–23, 2026. Third-party videos do not display a build number; example values come from pre-Patch #4 (August 12, 2026) footage or the demo, and no post-patch gameplay has been verified.
Evidence: IN-GAME TEXT briefing transcription (build not stated) · IN-GAME TEXT build extraction (1.0, build 24750322) · OFFICIAL achievements
Intelligence has identified an anti-monarchist element operating within the city. Separately, High Command has scheduled a celebratory illumination over the Royal Palace to mark the General's peace initiative. Iron Nest has been assigned both operations.
Mission 2 walkthrough, phase by phase
IRON NEST Mission 2 (Fire and Light) runs in two phases.
Phase 1 — HE triangulation
Mark the IRON NEST and both spotters on the map.
Read Spotter 1 and Spotter 2. Each reports a bearing but no distance — that is expected.
Draw the two bearing lines from the spotters. The target sits at their intersection.
Place a target marker at the crossing, then stop using the spotter lines for the firing controls.
Measure the final bearing and range from the IRON NEST to the target.
Load HE, enter the range and powder charge, and print the elevation card.
Fire. After the first target falls, read the reconnaissance photos: two additional hostile elements appear. Destroy both.
Wait for "Phase one complete" before switching tasks.
Phase 2 — Star Shell illumination
Read the new order: STAR bursts over the Royal Palace, Star Shells only.
Plot the approximate illumination coordinates supplied from Spotter 1.
Fire one Star Shell as an observation shot.
Read the impact photo: the yellow number is the distance from the impact point to the target; the yellow arrow is the direction from the impact point to the target.
Move from the impact point in the shown direction and recalculate bearing, range, charges and elevation.
Fire again and repeat until command reports "Starburst position confirmed satisfactory. Fire mission complete."
Do not copy coordinates from a video. Objective positions differ between runs. The point of the mission is to turn the reports in your run into target locations.
Stuck Points and Troubleshooting
"I have a bearing but no distance." Normal. Two bearings from two spotters cross at the target; distance is measured later from the IRON NEST.
"I put the spotter bearing into the turret and missed." The final firing line must be measured from the IRON NEST, not from a spotter.
"I fired HE during the illumination phase." The game answers "WRONG ORDNANCE: STAR SHELL ONLY" (and "HALT FIRE! You should be firing STAR shells, NOT HE!"). Switch shells and re-plot.
"I cleared the board and lost the spotter markers." Record the spotter positions before clearing; the typewriter can scroll past the old messages and leave no way back.
"My first Star Shell missed by kilometres." Intentional. The first shot is an observation shot; the yellow markings teach the correction.
"I hit friendlies." The King, the General and allied artillery are on the map. Ally kills cost you the Measured Fire Star medal and can fail the mission's intent.
Star Shell Correction Loop
The Star Shell is a parachute-delayed illumination shell — damage 0, max 6 powder charges, default 3, with a charge table of 1–6 mapping to a maximum range of 5–30 in build 24750322. It exists to light the target area and to carry correction markings.
The correction loop is: fire an observation shot → read the yellow number (distance) and yellow arrow (direction) from the impact point to the target → move from the impact point → recalculate the entire firing solution → fire again. Keep going until command confirms the burst. A Star Shell that lands on a target still gives a correction.
The illumination radius is not the shell's impact radius; the impact-radius value is not a valid stand-in for how large the lit area is.
Spotters and Bearing
Mission 2 fields two allied spotters. Each gives a bearing from its own position; there is no distance in the spotter report. Draw both lines and read the target at the crossing.
Spotter positions and their bearings change between runs. The correct workflow is to read the data in your run, not to reuse a recorded coordinate. A spotter bearing describes where the target is from the spotter — it is never the turret's firing bearing.
Powder Charges
Powder charges set how far a shell can fly. Each charge step raises the maximum range (5 → 30 across charges 1–6 in build 24750322); the Star Shell defaults to 3 charges. In Mission 2 you select the charge in the ballistic calculator for the range you measured, then print the elevation card.
Example charge and elevation numbers from guides and videos are per-run values — they change with the map and the target, so treat them as worked examples, not answers.
The Star Shell's punchcard costs 2 requisition and is bought from the requisition console.
Demo vs Full Release
The demo and the full release both include Mission 2, both run the same two-phase structure, and both have Star Shells. What differs is every concrete number: coordinates, bearings, ranges and charges are generated per run and are not transferable between the demo, the full release, or any two runs.
Patch #1–#4 contain no Mission 2-specific fixes, so the release-version structure in build 24750322 stands; always check the version note before relying on older footage.
FAQ
Why won't Mission 2 advance after I destroy the first target?
Destroying the initial target is not the end of Phase 1. Command transmits reconnaissance photos showing two additional hostile elements; destroy both before the phase completes.
Where is spotter 1, and why don't I get a distance with the bearing?
Spotter 1 is one of the two allied observation points marked on the map at the start. A bearing without a distance is normal: draw both spotters' lines and read the target at the intersection. Positions change between runs, so locate them from your own map.
Why does my Star Shell miss by kilometres?
The first Star Shell is an observation shot. The miss is intentional — read the yellow number (distance) and yellow arrow (direction) on the impact photo, move from the impact point, and recalculate.
Do I measure the firing line from the spotter or from Iron Nest?
From the IRON NEST. Spotter bearings locate the target; the final bearing and range for the ballistic calculator are measured from the turret position.
What ammo does Mission 2 need?
Phase 1 is HE only (the game warns "WRONG AMMO! You should be firing HE"). Phase 2 is Star Shell only ("WRONG ORDNANCE: STAR SHELL ONLY"). No other shell is accepted during these phases. See the shell types reference for the full list.
Is Mission 2 in the demo, and does it differ from the full game?
Yes, the demo includes Mission 2 with the same two-phase structure and Star Shells. Concrete numbers differ between runs and between versions; use the full-release build note for current values.
What medal does Mission 2 offer?
Ordnance Efficiency Citation, awarded for finishing with few shots fired: bronze ≤ 8, silver ≤ 6, gold ≤ 4 on this mission. Full medal details live on the medals reference.
Sources and version notes
Reviewed August 22–23, 2026. Evidence types and dates are stated beside each claim above.
Official: official achievement names on the game's platform store page; the developer-maintained FAQ; developer patch notes from Version 1.0 (1558) through (1622), retrieved from the official Discord and Steam announcements — no Mission 2 entry found.
In-game text: briefing, comm messages, and medal thresholds transcribed by a third-party mission database (retrieved August 22–23, 2026; build not stated); mission title, flow nodes, entity spawn data, shell values, medal thresholds, and punchcard prices extracted from the 1.0 game build (build 24750322) and the demo build (23991575) via the shared game-data extraction (August 2026).
Observed footage: four public YouTube videos — a demo-era full guide and a demo-era short playthrough (June 2026), a demo-era no-commentary run (June 2026), and a release-era Star Shell correction video (August 8, 2026, pre-Patch #4) — plus two reused full-run videos from the missions register. None display a build number.
Reported: dated community posts in the official Discord (June–August 2026).